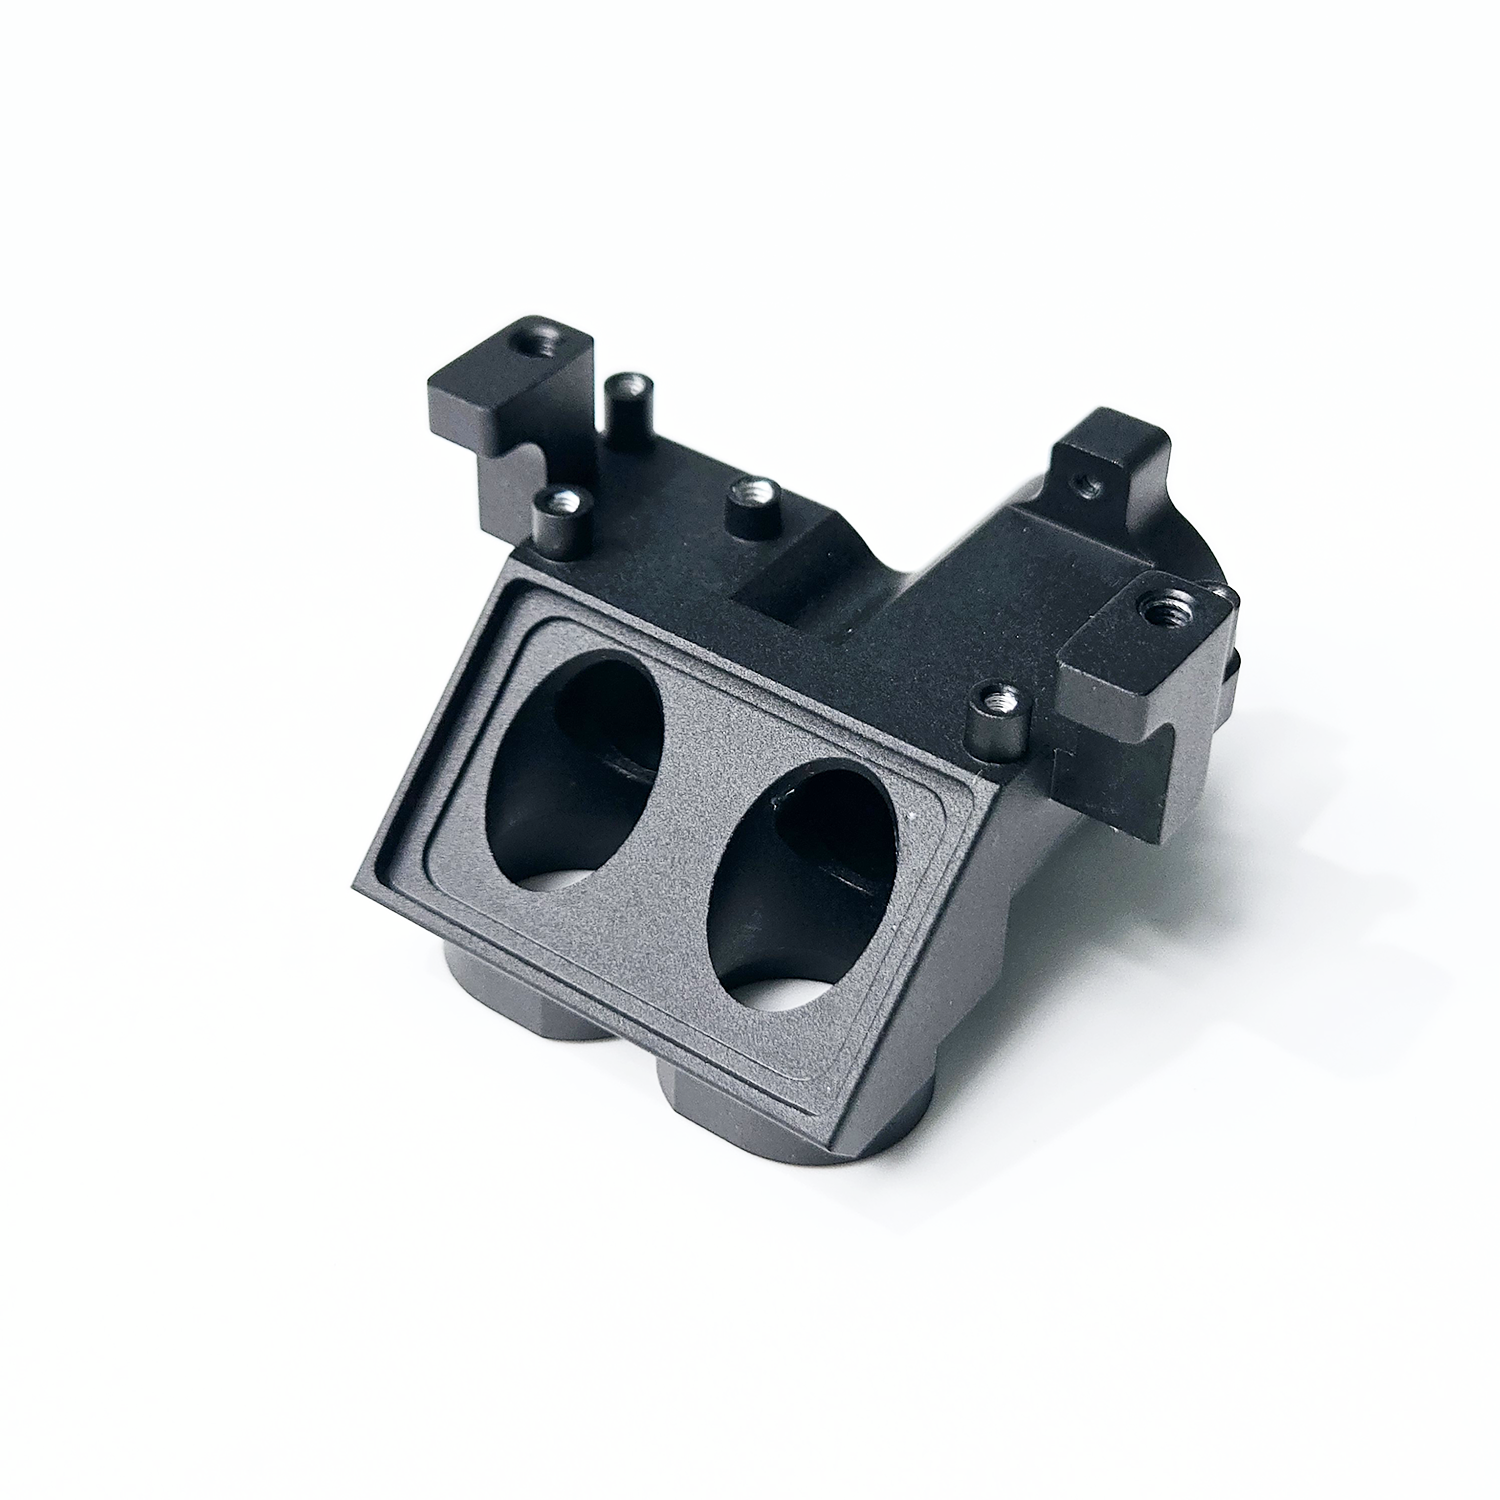
What to Communicate When Customizing CNC Machined Metal Parts
Share Accurate Technical Drawings and Design Specifications

Provide Complete and Detailed Technical Drawings for CNC Machining
Getting things right starts with clear documentation. When working on parts, engineers typically use CAD programs to build those 3D models while also creating detailed 2D drawings that stick to the ASME Y14.5 guidelines for CNC work. Good drawings should show multiple angles, cut through sections where needed, and clearly mark important details like threads or recesses in the metal. When prototypes need changes, keeping track of versions becomes critical. Some shops embed information directly into files, something like "Revision 1.2 made from 6061 Aluminum" helps everyone stay on the same page and stops mistakes during production runs.
Specify Critical Dimensions, Tolerances, and Surface Finishes
Identify mission-critical features requiring tight tolerances like ±0.001" and distinguish them from standard ±0.005" zones. Use GD&T symbols to clearly define geometric requirements:
| Tolerance Type | Common Application | Cost Impact |
|---|---|---|
| Flatness ≤0.003" | Sealing surfaces | +15-20% |
| Concentricity ≤0.002" | Rotating shafts | +25-30% |
| Surface finishes should align with function–specify Ra 32 µin for bearing seats and Ra 125 µin for non-critical faces to avoid unnecessary processing. |
Address Internal Corner Radii and Tooling Limitations in Design
Avoid sharp internal corners by applying radii ≥⅓ of cavity depth. For example:
- 0.5" deep pocket ─ minimum 0.167" corner radius
Small radii require undersized tools, increasing cycle time by up to 40% (Machinery’s Handbook 2022). For thin walls under 0.04", explicitly note "No Radius" to signal the need for EDM secondary operations.
Handle Complex Curves and Varying Radii With Manufacturability in Mind
When designing organic shapes, limit curvature changes to ≥5° per 0.1" to ensure stable toolpaths. For automotive prototypes requiring Class-A surfaces:
- Convert NURBS surfaces to STEP AP242 format
- Simplify blends using tangent arcs instead of splines
- Flag "No Hand Blending" in drawing notes
Early collaboration with machinists can reduce CAM programming time by 30% while preserving design intent.
Define Material Requirements and Metal Selection Clearly
Specify exact metal types and material grades for CNC machining
Precision starts with clear material specifications. Distinguish between alloys like Aluminum 6061-T6 and 7075-T651–6061 offers better machinability (90% relative rating), while 7075 delivers higher strength (83 ksi yield strength). Technical documents should include:
- Full material standards (ASTM B211, AMS 4125)
- Heat treatment conditions (T6 temper, solution annealing)
- Required certifications (mill test reports, RoHS compliance)
Understand common metals and plastics used in CNC projects
CNC machining supports a range of materials, each suited to specific applications:
| Material | Key Properties | Common Applications |
|---|---|---|
| Aluminum 6061 | Lightweight, excellent machinability | Aerospace components |
| Stainless Steel 316 | Corrosion resistance, durability | Marine hardware |
| Titanium Grade 5 | High strength-to-weight ratio | Medical implants |
| PEEK Plastic | Chemical resistance, low friction | Semiconductor parts |
Selecting appropriate materials avoids over-engineering; specialty metals can cost 300–500% more than standard grades without functional benefit.
Apply Design for Manufacturability (DFM) Principles Early
Engage with manufacturers for DFM feedback before finalizing design
Integrate Design for Manufacturability (DFM) early by consulting CNC partners during prototyping. Industry data shows 70% of manufacturing costs are determined at the design stage, making early feedback essential. Sharing preliminary models helps uncover issues like tool access constraints or inefficient material use before production begins.
Balance complexity with cost and lead time using DFM best practices
Simplify geometries without compromising performance through proven strategies:
- Replace complex 3D contours with standardized angles where feasible
- Combine multiple features into single setups
- Use standard fastener sizes instead of custom threads
These approaches reduce machining time by 18–35%, according to precision engineering studies, while maintaining structural integrity.
Evaluate five-axis vs. three-axis machining trade-offs
| Factor | 3-Axis Machining | 5-Axis Machining |
|---|---|---|
| Setup Complexity | Low (single orientation) | High (multi-axis paths) |
| Lead Time | 5–7 days | 8–12 days |
| Precision Potential | ±0.005" | ±0.002" |
Reserve five-axis machining for complex geometries or angular access needs to control costs and lead times.
Avoid over-engineering: Align design with functional requirements
Replace unnecessarily tight aerospace-grade tolerances (±0.0005") with commercial standards (±0.005") when acceptable. A 2023 survey found 62% of redesigned parts maintained performance while reducing production costs by 29% through rationalized specifications.
Establish Clear Quality Control and Inspection Standards
Define Inspection Requirements: 100% Testing vs. AQL Sampling
The level of inspection needs to match how important the application actually is. When we're talking about aerospace parts, there's no room for shortcuts. Shops do complete dimensional checks on every single piece using those coordinate measuring machines to meet those super tight tolerance requirements specified in ISO 2768 standards. Things work differently in the automotive world where they produce so many units at once. Most manufacturers rely on what's called AQL sampling according to MIL-STD-105E guidelines. This gives them enough statistical assurance without inspecting everything. Looking across typical CNC operations, most shops have developed different levels of scrutiny. General parts usually get AQL Level II treatment while medical devices classified as Class 3 demand full blown inspections from start to finish because patient safety simply cannot be compromised.
Ensure Precision With Tight Tolerance Verification and Reporting
While CNC machining achieves ±0.001" repeatability, consistent results depend on structured verification:
- First-article inspections to confirm program accuracy
- In-process checks with laser micrometers for real-time corrections
- Final validation against ASME Y14.5 GD&T callouts
Suppliers should report deviations exceeding 50% of the tolerance band–e.g., ±0.01mm adjustment allowed on a ±0.02mm spec–without triggering rework. For cosmetic surfaces, specify acceptable scratch depths (≤0.1mm per AS9100 Rev D) to minimize non-value-added rejections.


